Bigpond mail is one of the biggest email client software which has all the necessary features to help with transferring emails with additional features added to it. In the old days, email was limited to just sending and receiving emails from one email account to another, But still, it was doing pretty good and we all enjoyed the service. Now, since everything is emerging and developing, email service has also decided to move on and add features to its email client software. There are loads of features that can be added to the email client which can be very helpful for users. Now when talking about such email client which provides the best service and different features, Bigpond is the first name that comes up in the list. We all want software that is reliable and easy to use, With Bigpond users will have no such difficulty in using the functionality of the software. For new users who don’t have much idea about what an email client software is can get the necessary information from our Support Service Number.
As we were talking about adding various features to Bigpond mail, a user can now easily set up their Bigpond mail using the Setup and Troubleshooting tool which is available on the official website. The tool will guide users about what steps should be taken, for example, if the user wants to setup their email or even for remote accessing or for sending and receiving emails in the account.There is also an option where users can use the manual setup option. To configure manually, the user will have to be aware of what his/her server name is, and the port number that contains the IMAP and POP configuration. If users are not aware of what IMAP and POP is, well these both are the system which uses the same function due to which users can download the emails into their computer devices such as a tablet, phone, laptop. Once the setup is the complete user will not have to make changes in all the devices as from a single point all of the devices will be updated.If these things are new to users and are finding it hard to understand then do not worry, we also provide Customer Support where users will be provided with necessary information.
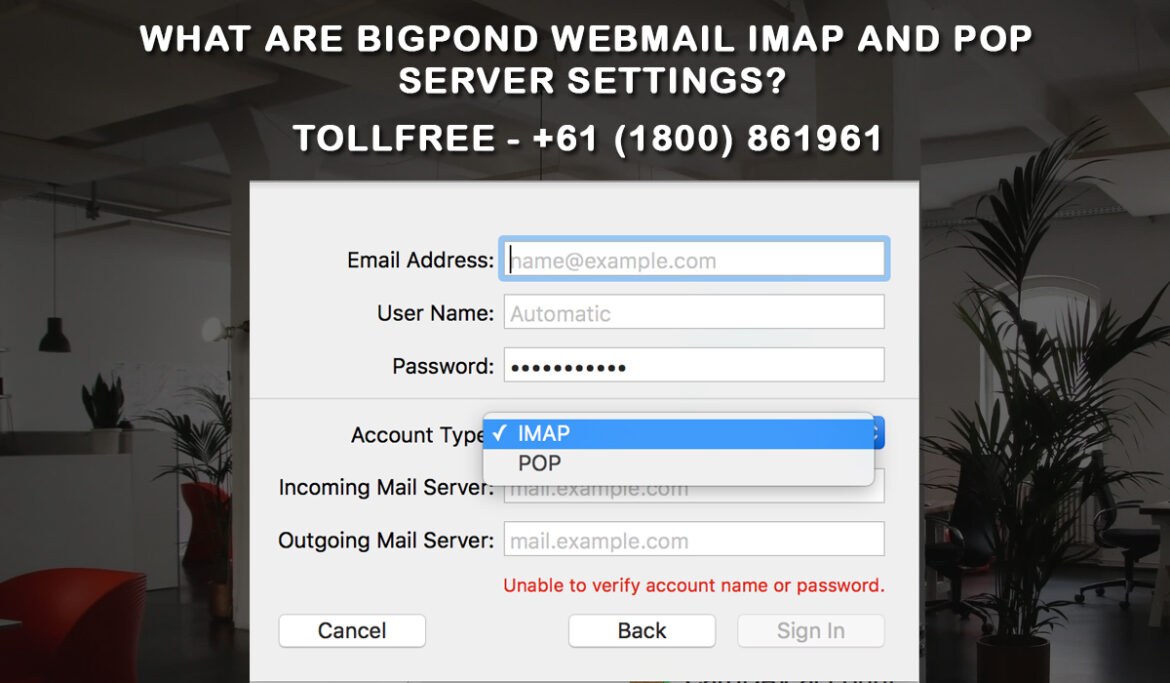
Now for users who are looking for the steps to setup their Bigpond webmail Imap and Pop server can follow the given steps below.
IMAP Settings
- Set the account type as IMAP first.
- Next comes the server address, enter imap.telstra.com.
- The port should be set at 993 and change the encrypted connection as SSL.
- Then comes the outgoing port, set it to smtp.telstra.com. The port should be set to 465.
- Encrypted connection to SSL or either TLS on the port running 465.
POP/SMTP Settings
- Set the account type as POP3.
- Then the incoming server address to pop.telstra.com which should be set to port 995 and encrypted connection to SSL.
- Next, outgoing server address to smtp.tesltra.com. The port should be 465 and the authentication should be turned to yes.
For more kindly reach out to Bigpond Technical Support Service.