BigPond is Australia’s most popular Internet Service Provider since it offers webmail and internet access. They’ve risen to the top because they offer exceptional services and support, including responses to any concerns about login, security, scams, and email sending and receiving, among other things.
We know that email is the favored method of official communication in the public and business sectors alike. You can use BigPond’s email services from a laptop or desktop computer. Likewise, BigPond accounts can also be accessed from mobile devices and desktop programs via Internet Protocol Access (IMAP).If you are a first-time user, please feel free to contact our Support Service so that we may walk you through the entire process of creating a new account.
Moving on to the article, we’ll teach you how to manually configure your BigPond webmail on your Windows mail program. This article will walk you through the process of adding a Telstra Mail email account to your Windows Mail 10 application or modifying your email account. It contains the advanced mail server information that you’ll require. You’ll need your Telstra Mail email address and password before you begin.
To add your Telstra email address to Windows Mail 10, follow these steps:
- Select Settings then select the cog sign in Windows Mail 10.
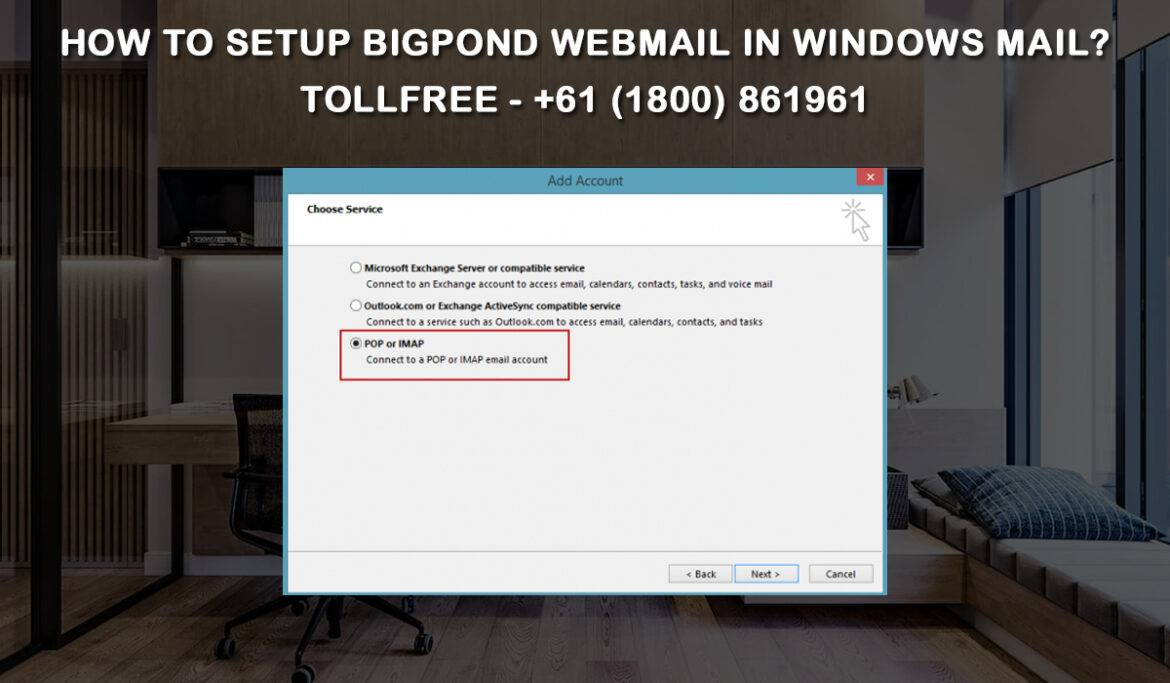
- Choose Manage Accounts, then click on Add Account.
- Choose Other account (POP, IMAP)
- Sign in by entering your email address and password correctly.
- Your email account should be activated. Select Done as your action.
To make changes to your email account settings, follow these steps:
- Again, select Settings, then the cog sign – in Windows Mail 10.
- To open the account settings section, go to Manage Accounts and then choose the email account you want to modify.
- To update your syncing options, select Change mailbox sync settings. Please keep in mind that this is entirely optional.
- When finished, click on Done to return to the Account Settings page.
- Choose Advanced mailbox settings.
- Update your server configuration:
- Enter imap.telstra.com: 993:1 as in the ‘Incoming email server’ field.
- Enter smtp.telstra.com: 465:1 for ‘Outgoing (SMTP) email server’.
- Check the box next to ‘Outgoing server requires authentication.’
- Check that ‘Use the same username and password for sending email‘ is checked.
- Check the box next to ‘Require SSL for incoming email.’
- Check the box next to ‘Require SSL for outgoing email.’
- Enter imap.telstra.com: 993:1 as in the ‘Incoming email server’ field.
- Changes should be made to your email account. Choose Done.
After you complete the last step, your BigPond account should be successfully setup on your Windows Mail app and now you can send/receive and browse all of your BigPond mails through your Windows Mail app. For further support, dial-up our technical support team.